Do you want to change the WordPress login logo on your website? WordPress automatically adds its own logo on the login page of a WordPress website. If your website needs user login only for you then there is no need to change the login logo but if you share your website with users or subscribers then you can replace the default logo for your branding.
Changing the login logo is very easy in WordPress. You can do it using a plugin or by adding a script. Here in this tutorial, we will guide you to change the WordPress login logo in an easy way.
Change WordPress Login Logo
Here in this tutorial, we will show you both ways to change the login logo.
Change the login logo with a plugin
Using a plugin is the easiest and quickest way to change the login logo of your WordPress website. There are different plugins available that allow you to change your website login logo. Here we are using the LoginPress | Custom Login Page Customizer WordPress plugin.
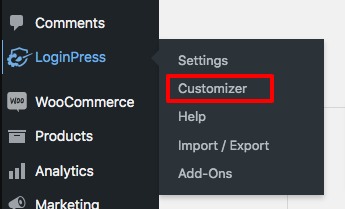
Install and activate the plugin on your website and navigate to the LoginPress > Customizer option.

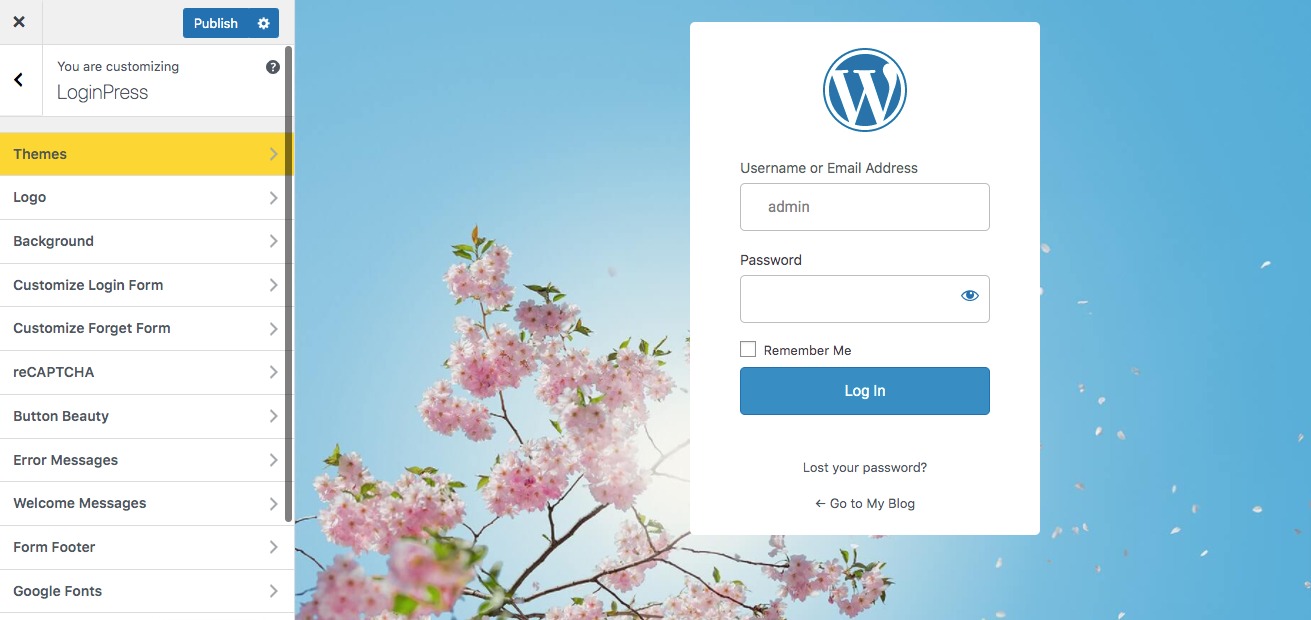
It will navigate you to the WordPress login page customization option from there you can preview the login page as well as customize it. It’s similar to the WordPress default customizer so if you are familiar with that it should look easy for you.

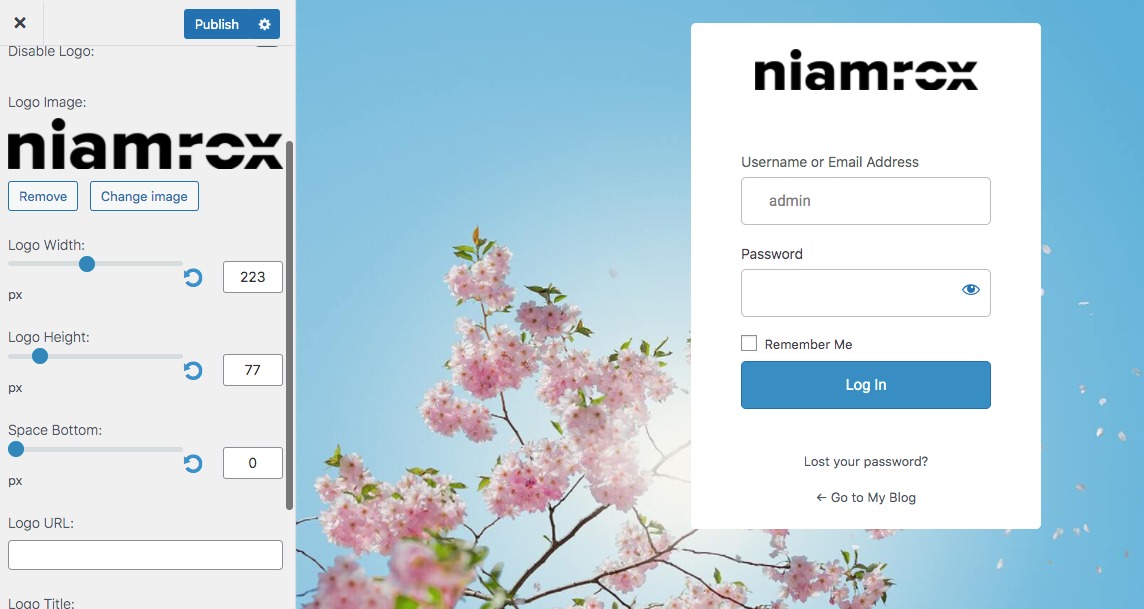
To change the logo navigate to the logo option and then click on the Select Image button. You can choose an image from your media library or upload a new image from your device. After selecting your logo you can set the logo width, height, and space bottom. Then you can add the logo URL, page title, and login page title too.

When you are done click on the Publish button to save your changes. The changes will be live instant on your website.
Change the login logo manually using code
If you don’t want to use a plugin then you can do it manually by using a few lines of code on your website. But before starting make sure that you have successfully backed up your website so that if anything goes wrong you can get back your website data. In this process first, you need to upload the logo file to your website theme directory.
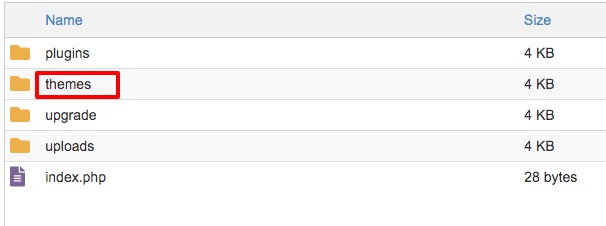
To upload a theme you need to use an FTP client or cPanel control settings. Navigate to File Manager > wp-content > themes folder where you will see all the installed theme lists on your website.

You need to find the active theme folder and then open the image folder and upload the image to it. If the image folder is not available then you need to create an image folder.

Now open the function.php file and add the following code to it.
function my_login_logo() { ?>

<style type=”text/css”>

#login h1 a, .login h1 a {

background-image: url(<?php echo get_stylesheet_directory_uri(); ?>/images/logo.png);

height:65px;

width:320px;

background-size: 320px 65px;

background-repeat: no-repeat;

padding-bottom: 30px;

}

</style>

<?php }

add_action( ‘login_enqueue_scripts’, ‘my_login_logo’ );
Don’t forget to rename the logo.png image file name with your uploaded image name. Save the file and go back to your website. This will replace your WordPress login logo.
Wrapping Up
Following the process, you will be able to change the login logo on your WordPress website. You can see our other articles to learn How to enable Inner Blocks in your Gutenberg Block
Beginner’s Guide create a full-width page in WordPress
How to Add a Navigation Menu to Sidebar in WordPress
We hope this article will help you. If you like this article please like our Facebook page.


