Looking for a way to add custom fonts in WordPress? Using custom fonts in your website you can add your own fonts based on your website design or focus. You can also use different types of font to create beautiful typography to enhance the user experience. You can also create a brand image using custom fonts too. So here in this article, we will guide you to add custom fonts to your WordPress website.
Where to find custom fonts?
There are some fonts that are very expensive to use. But don’t worry, there are also a lot of platforms available like Google fonts, FontSquirrel where you will find free fonts for your website. You can use any of these platforms to add different forms to your WordPress website. But adding too many fonts is not good for a website. Adding many fonts can slow down your website and hamper your website performance. It is recommended not to use more than two fonts.
Add custom fonts in WordPress
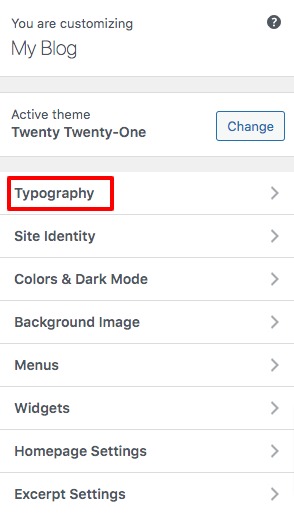
Adding custom fonts to a WordPress website is very easy. Here in this tutorial, we will add Google Fonts in an easy way. To add Google Fonts you need to install and activate the Easy Google Fonts plugin on your website. After successfully activating the plugin go to Appearance > Customizer where you will find the theme customizer option. In your theme customizer option, you will now see an additional Typography option.
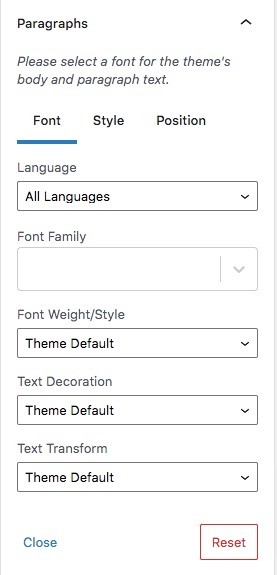
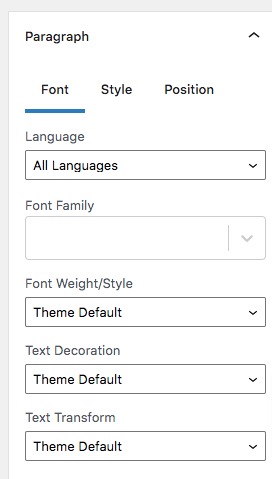
Now click on the Typography option and it will show you different sections of your website where you add Google Fonts. Click any of the sections and then click on the Font Family field to add a font. It will show you a dropdown menu from where you can select any of the fonts. You can also set font style, font-weight, text-decoration, and text transformation for your custom fonts.
based on your active theme you can see these options in a different way or you don’t have an option to change fonts in some parts of your website. To solve this problem you can create your own controls using the plugin. To set your own control go to Settings > Google Fonts page. First, add your font control name. You can add a suitable name where you want to add these controls. Like if you want to add this control to your paragraph then you can set the control name as a Paragraph. After adding the control name click on the Create Font Control button.

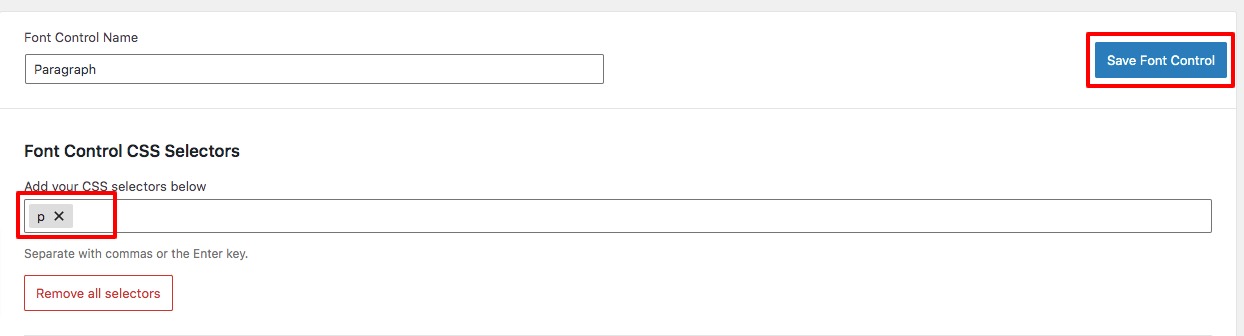
Now you need to add a CSS selector for your font. If you are using the font for heading then you can set the CSS selectors as H1, H2, H3. Here we are adding control for our paragraph section so we add the CSS selector as P.
After adding the CSS selector clicks on the Save Font Control button. You can add as many font controls as you want.
Now again go to the Appearance > Customizer > Typography option and you will see a new option name Theme Typography.
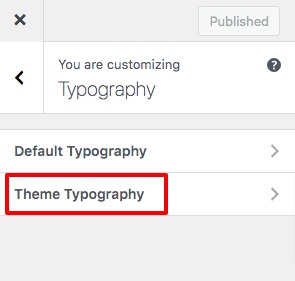
Click on the Theme Typography option and you will see the font control you just created here. All of your created font control will be available here. From here you can add the Google Font for the selected parts of your website.
After adding your font family clicks on the Publish button to save the changes.
Add Google Font manually
If you don’t want to use a plugin then you can manually add Google Font to your website. To manually add Google Font you need to add some code to your website theme file. You can see this tutorial to learn how to paste snippets from the web to WordPress.
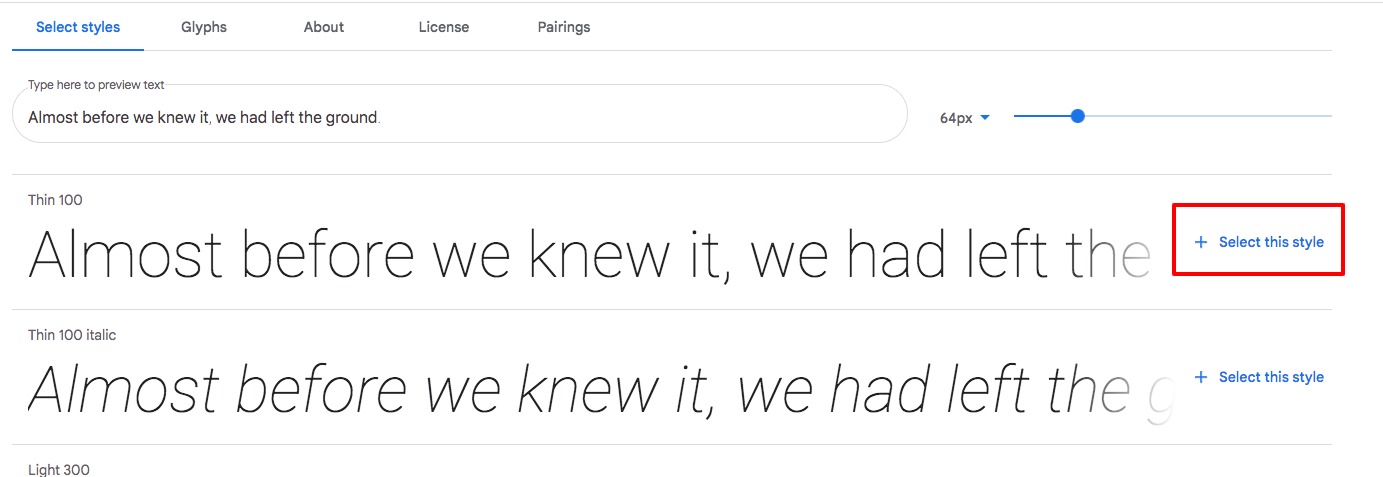
First, go to the Google font library page and click any of the font styles you want to add. Then it will show you the available styles for your selected font. Now click on the Select this style option to add the font style.
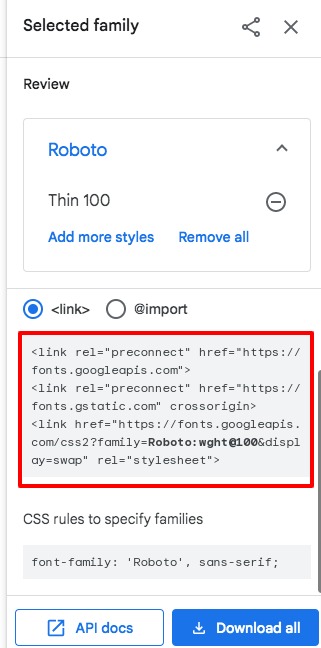
To embed the font, copy the code into the <head> of your HTML. Copy this code and paste it in your theme header file and it will add the font to your website.
Don’t forget to click on the Save button.
Wrapping up
Following the process, you will be able to add custom fonts to your WordPress website. You can see our other articles to learn How to create a sticky floating navigation menu in WordPress
Beginner’s Guide creates a full-width page in a WordPress website.
How to remove or add capabilities to user roles in WordPress.
We hope this article will help you. If you like this article, please like our Facebook Page to stay connected.