
Looking for a way to translate your WooCommerce store? Here in this article, we are going to show you the easiest way to translate a WooCommerce store.
The new website owners may think to create a new website for any specific language but it’s not a good idea. WordPress offers you the features to translate your existing WooCommerce store into multiple languages. You can translate your website into any language you want instead of creating a new website.
Importance of translating a WooCommerce store
Most of the users prefer and feel comfortable shopping in their own language. When the users are seeing the products and it’s a description in their native language it helps them to make the decision faster. Users can interact more with your store if it appears in their own language. It also helps you to increase audience engagement as it offers your users a better customer experience.
Translate a WooCommerce store
The easiest way to translate your website is to use a plugin. With a plugin, you can easily translate your full website within a very short period of time. Here in this tutorial, we are using the TranslatePress WordPress multilingual plugin. There are two versions of this plugin. With the free version, you can translate your website into one language only. But with the paid version you translate many languages you want.
First, install and activate the plugin and then go to Setting > TranslatePress. If you use the paid version from this page click on the License tab to activate the license.
After that go to the General tab and set the default language for your website. Then you need to choose the additional languages. Just click on the chosen field and from the dropdown menu select your language and click on the Add button. Follow the same process to add as many languages as you want.
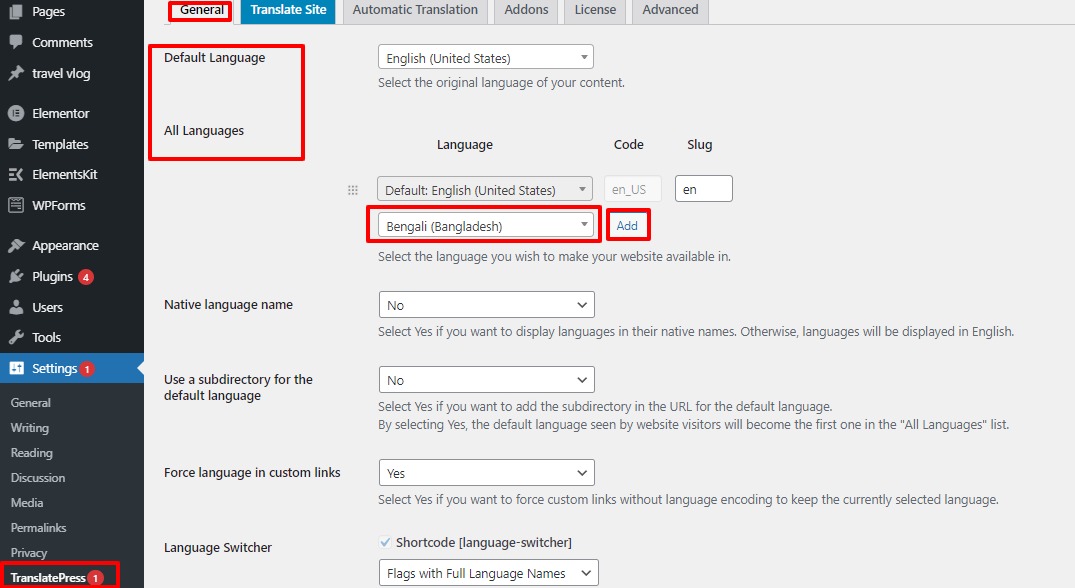
This plugin also offers you some customization features. You can customize the language selector. as –
- Shortcode
- Menu item
- Floating language selector
If you want to display languages in their native names then you can enable the Native language name option
When everything is done click on the Save button to save your changes.
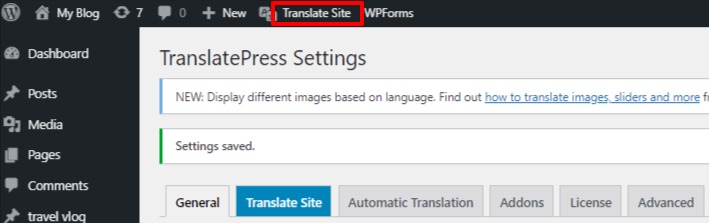
After completing the general setting click on the Translate site option from your dashboard. It will open up a translation page where you can see a preview of your website how it looks after translating into other languages.
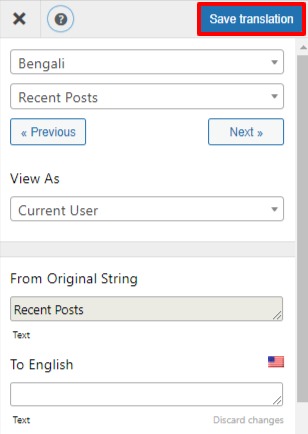
You can go anywhere on your website and translate the page with your selected languages. From the preview panel, you can select any text and edit it.
When you are done click on the save translation button.
Now go to your website and see how the translation works.
![]()
Wrapping up
We hope this article will help you. You can also see our other articles to learn How to Add a Request to the Callback Form in WordPress
How to Create Custom Taxonomies in WordPress
If you like this article please like our Facebook Page to stay connected.