Do you want to update the WordPress database for your website? Here in this article, we will guide you to the easiest way to update the WordPress database.
WordPress is one of the best content management systems that offer you advanced features and functionalities to create a website. Creating and maintaining a website with WordPress is easy and flexible. To make your website secure you need to keep your website up to date. Some elements are very important to make up to date, especially the WordPress database.
The WordPress database stores all the important information about your website. When someone requests any information your website will display the data from your website database.
Why does the WordPress database need to be updated?
Updating the WordPress database is very very important if you customize your website frequently. If you update your WordPress manually then it is mandatory for you to update the database. If your WordPress database is not updated then you may face many errors like dashboard not loading error or WordPress update failed error. When you face any database-related error, you may lose your important information. You can easily avoid these types of errors by updating your WordPress database.
Update WordPress database
If you don’t make any core changes on your website or there is no database-related error on your website, you don’t need to update your website database. Update your database only if you do any core customization of your website. You need to update your database when you face any errors too. For most cases, WordPress automatically detects if you need any database update and notify you. When your website needs a database update your website will display a dialog box
In the dialog box, there will be a button as Update WordPress Database, you just need to click on that button it will update your WordPress database automatically.
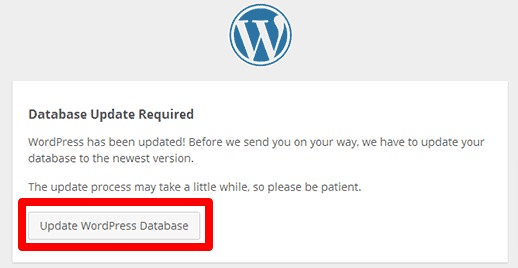
This process will update your WordPress database manually.
Check WordPress database update
If you want to manually check if there is any WordPress database update required for your website you need to go to the following URL from your website wp-admin/upgrade.php. Add your website domain and add the mentioned URL to go to the upgrade details page of your website. Here on this page, you will see if any database update is required or not for your WordPress website.
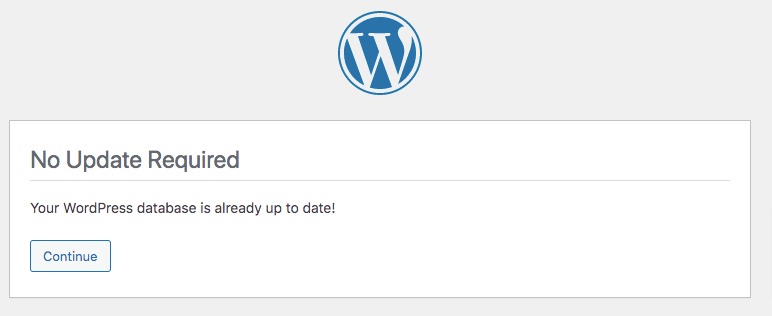
If your website needs an update then it will display the update message. Sometimes WordPress shows that there is no update required but actually it requires the database update. This happens when your website faces the No Update Required error.
When you update your WordPress database manually you need to configure the database settings to avoid the Error Establishing Database Connection error.
Updating the WordPress database manually sometimes changes the information in your website wp-config.php file. When the wp-config.php file is incorrect it won’t be able to create a connection to the database. So you need to set the correct database configuration settings. But before doing that make a backup of your website as we are going to edit some core files. There are many backup plugins available, you can use any of them. So if anything goes wrong you can easily retrieve your website information.
Find the correct database
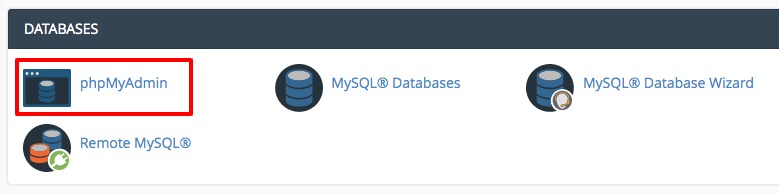
To find the database of your website you need to log in to your Cpanel account. After login to your Cpanel account go to Database > phpMyAdmin section for your website database.
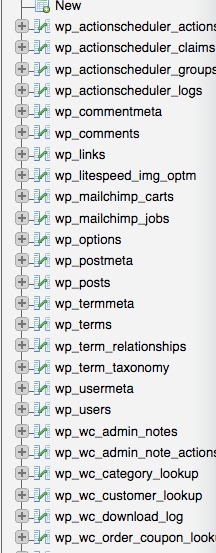
It will show you all the databases you have on your Cpanel account. From the list click on the correct database, it will expand all the tables under it.
Now again go to the Database > MySQL Databases section where you will be able to see your available MySQL database. Form here writes down the correct database name and password.

Update wp-config.php file
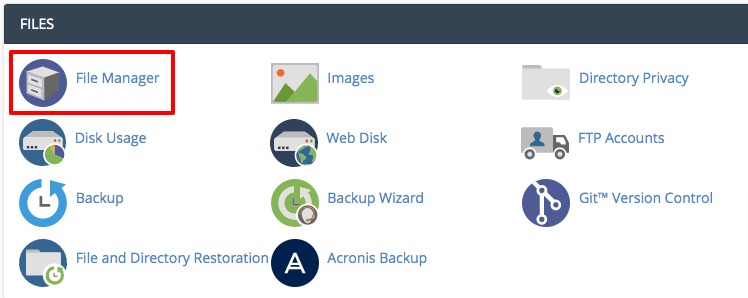
After noted all the important things you need to update the wp-config.php file. To access the wp-config.php file go to the file manager option from Cpanel.
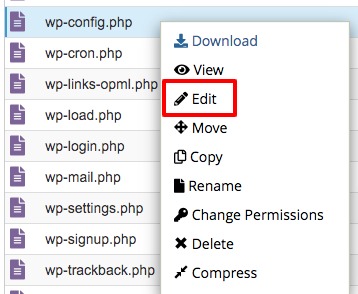
Here you will find the wp-config.php file. Right-click on it and then choose the Edit option.
It will open the file and you need to search for the DB_NAME. Replace the database name with your database name. If your website database name is “test_wp” then you need to add the following code to update the database name.
define( 'DB_NAME', 'test_wp' );
Now you need to update the database username and password. For this, you need to edit the DB_USER and DB_PASSWORD settings. If your database username is “test_username” and password is “test_password” then you need to add the following code.
/** MySQL database username */
define( ‘DB_USER’, ‘test_username‘ );
/** MySQL database password */
define( ‘DB_PASSWORD’, ‘test_password‘ );
Set the DB_HOST host as “localhost”
define( 'DB_HOST', 'localhost' );
At last, you need to update your database prefix as
$table_prefix = 'wp_';
This is the default prefix of your website data. If you are using any custom prefix for your database then you need to edit the code accordingly.
When everything is done save the file. That’s it you have successfully updated the database configuration settings of your website.
Wrapping Up
Following the process, you will be able to update the WordPress database. You can see our other articles to learn How to create a WordPress temporary login
How to organize files in WordPress media library
How to merge and bulk edit WordPress categories and tags
We hope this article will help you. If you like this article please like our Facebook page.