Are you ever trying to add a search bar to the WordPress menu? The WordPress website offers a search bar in the sidebar or footer section by default. But sometimes many users want to add this search bar option in their navigation menu area. If you add the search bar in the navigation area, it will be easily noticeable and your user can find it.
Here in this article, we are going to show you how to add a search bar to the WordPress menu.
Why do we need a search bar?
The search bar is very important to find any information on your website. It helps your user to find what they need on your website. It will increase audience engagement as it is a good user experience. WordPress has its default search bar area but it is limited only to the widgets areas.
If you want to search your entire website you need to add a custom search bar option to your website. There are a lot of search plugins available for WordPress which will enable you to add your search bar anywhere you want on your website. With the help of this plugin, you can add a search bar in your navigation menu too.
Now, let’s take a look at how we can add a search bar to the WordPress menu.
Add search bar to WordPress menu
Here in this tutorial, we are using the Ivory Search plugin to create our search bar to the navigation menu. Install this plugin on your website and activate it. After successfully activating the plugin you will be able to see the Ivory Search option in your WordPress dashboard.
To create our search bar we need to go to Ivory Search > Search Forums 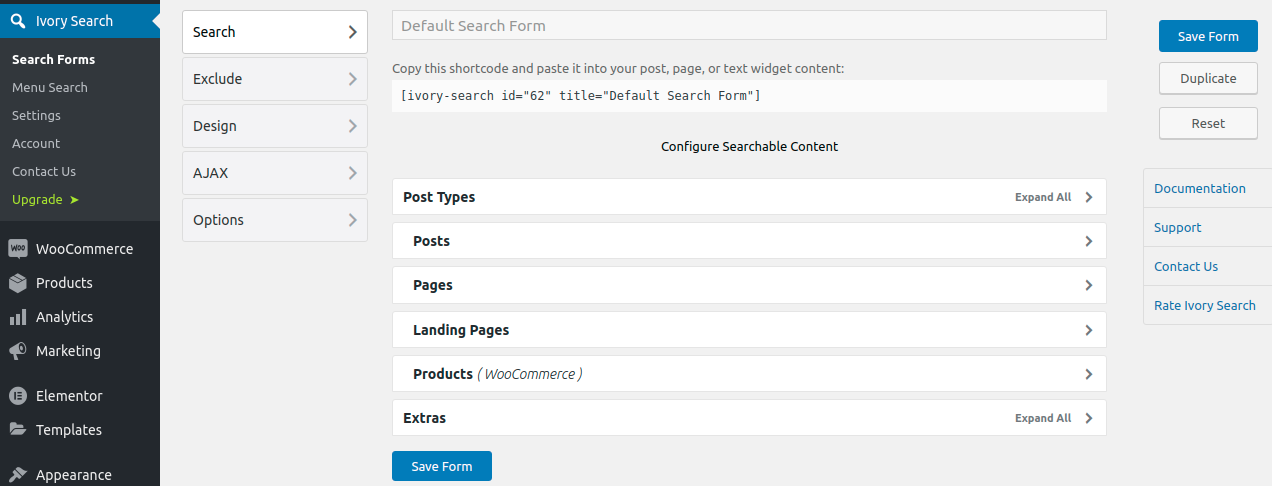
Your search forums title will be generated automatically by the plugin, You can not edit the title. From the other setting option, you can set your search bar.
From the post type option, you can select which elements will include in the search query. You can select your posts, pages, media, products, templates, and other elements of your website in the search query.
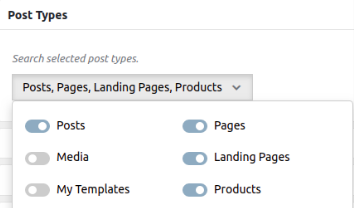
Similarly from the post and pages tab, you can select the post type and pages to include for the search query.

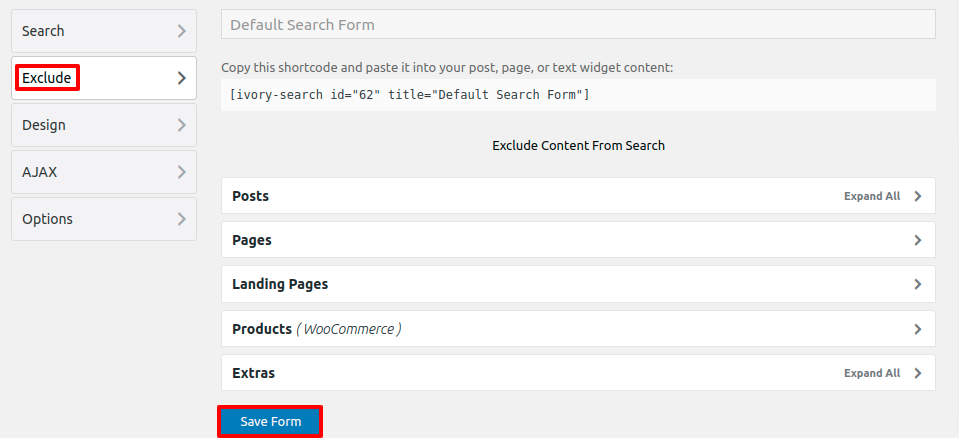
From the Exclude option, you can restrict the element which you don’t want to show in the search query. Select your element and click on the save form button.
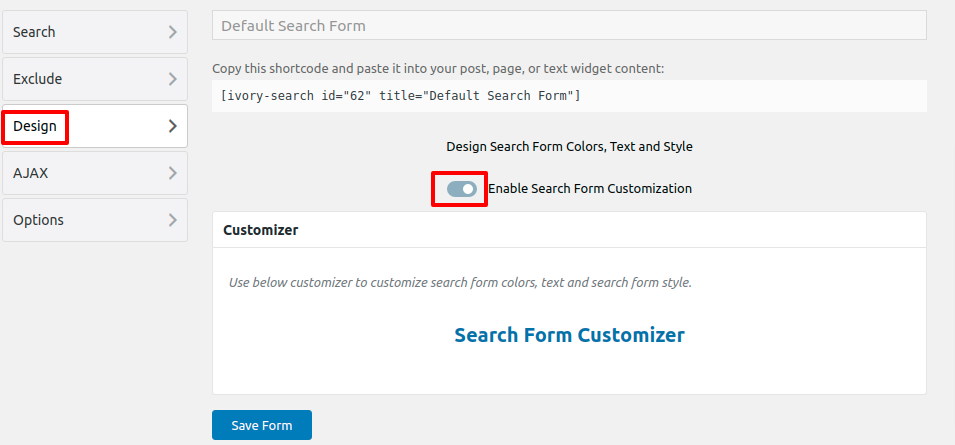
After including and restricting elements the next step is to customize the search bar. From the Design tab in the left column, you can enable the customization option for your search bar.
You can add AJAX functionality in your search bar from the AJAX option.
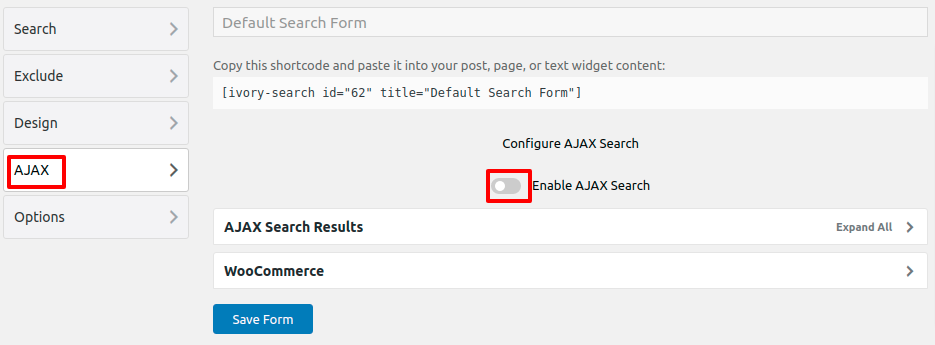
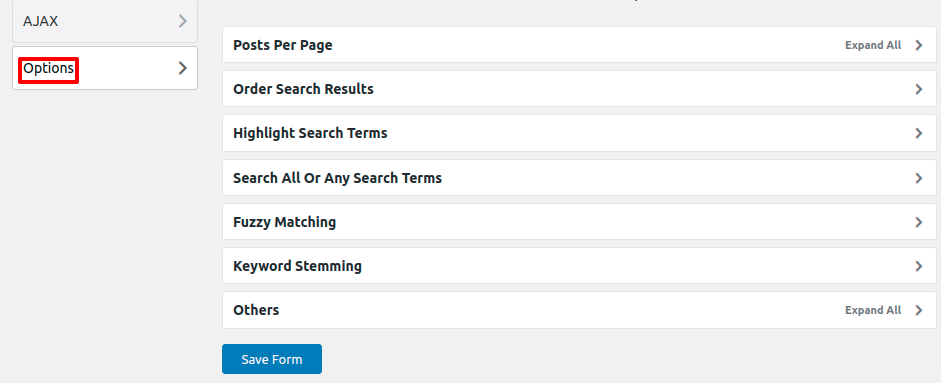
At last from the Options tab, you can select the number of results to show in the search query. There is some option too you can select that as your demand and need.
When everything is set up, don’t forget to save your settings. Your search bar is fully ready to implement. Now our task is to set the lactation where the search bar will appear on the website. We want to add this to our navigation menu.
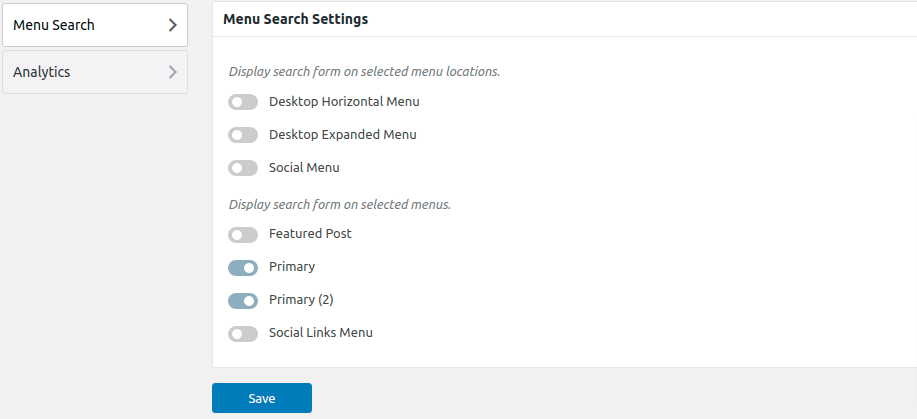
For this go to Ivory Search > Setting from the dashboard. Then from the Menu Search tab, you can select our menu where we want to add the search bar.
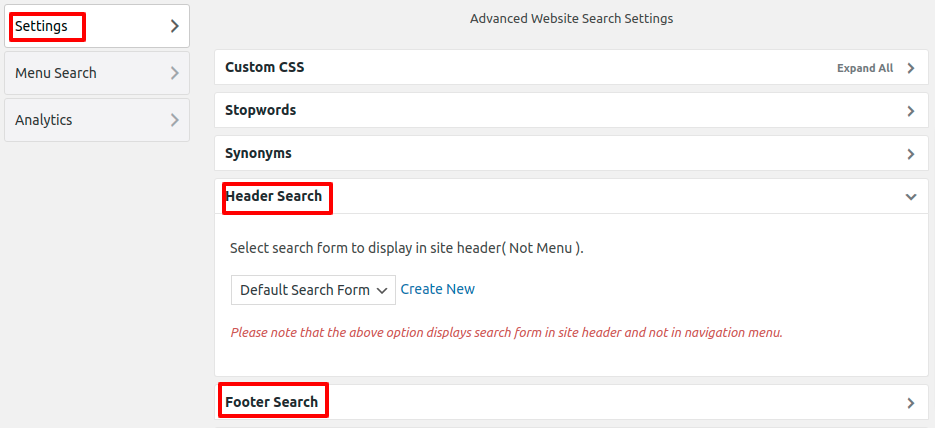
From the settings option, you can add a header or footer search. You can also add custom CSS from here.
 When everything is done go back to your website and you can see your newly created search bar in action.

Wrapping Up
Hope this article will help you.
You can see our other articles to learn How to submit a website to the Google search console
How to add a post creation limit for WordPress website
How to create a table of contents in WordPress posts and pages
If you like this article please like our Facebook page. If you have any problem you can check our Website Maintenance services. We will manage and customize your website professionally.


