Looking for a way to add a table of contents in WordPress posts and pages? Here in this article, we will guide you to add a table of contents to your WordPress posts and pages.
When you publish a large article and there are different topics in that article then it is very difficult for the users to find out the topics. A table of contents can solve these issues. You can add the important section at the beginning of the article and the user can go to that section by clicking on it. It enhances your website’s user experience.
Most of the popular websites like Wikipedia and others publish long articles or information using this table of contents feature so that the user can jump into any specific section they are looking for. For the SEO and search engine ranking, the table of contents also brings advantages for you. Search engines will automatically add your jump section URL in the search result too. So let’s see how you can add it to your website’s posts and pages.
Create a table of contents in WordPress posts and pages
There are different ways to add a table of content to your WordPress website. You can do it manually or you can use any plugins for this purpose. If you are good at HTML then you can easily add it to your website. But for beginners, it is difficult to do it manually. So using a plugin is the quickest and easiest solution for beginners.
Here in this tutorial, we are using the Easy Table of Contents plugin to create a table of contents features. Install and activate the plugin and go to Settings > Table of Contents page. From this page, you can set some general settings for the table of contents.
You can select the area where you want to use the table of contents. You can set the position of the table of contents as –
- Before first heading
- After first heading
- Top
- Bottom
You can also set the number of heading to show the table of contents automatically. Then you can show or hide the header label option and add the header label text.
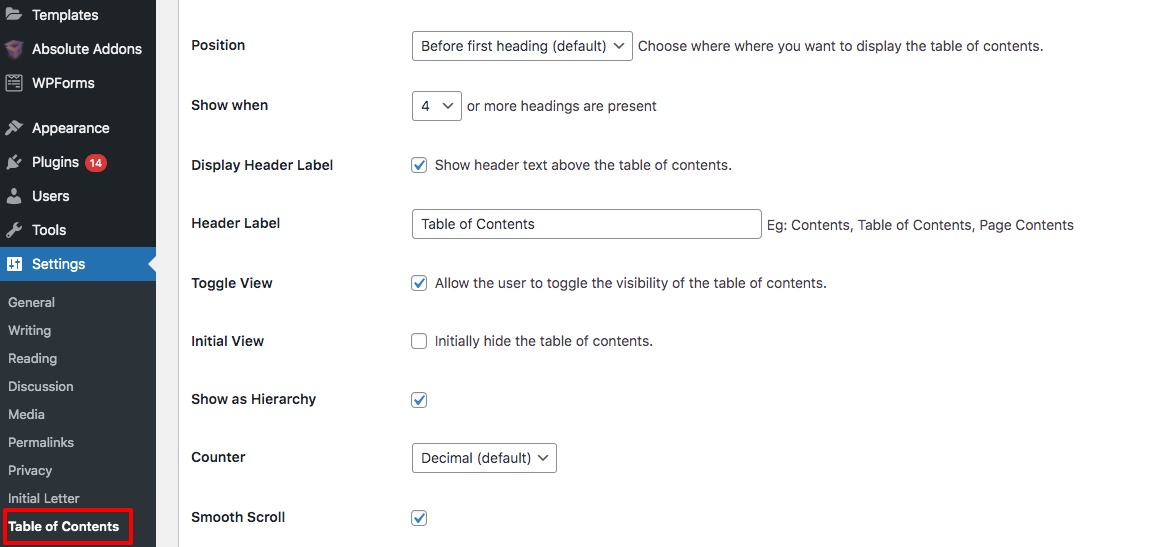
When you enable the auto-insert option it will automatically add the table of contents when reaching the number of header limits you set.
Now move on to the appearance option where you can set the width of the table of contents, font size, font-weight, and theme.
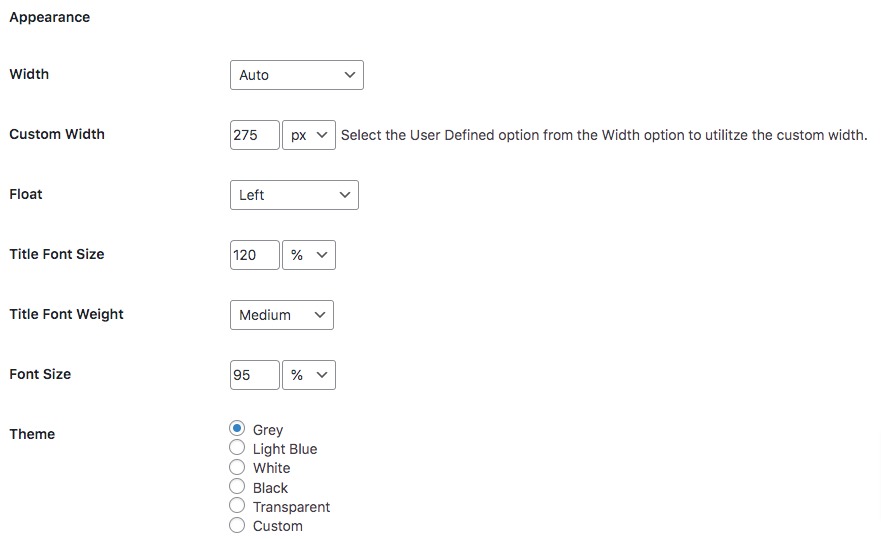
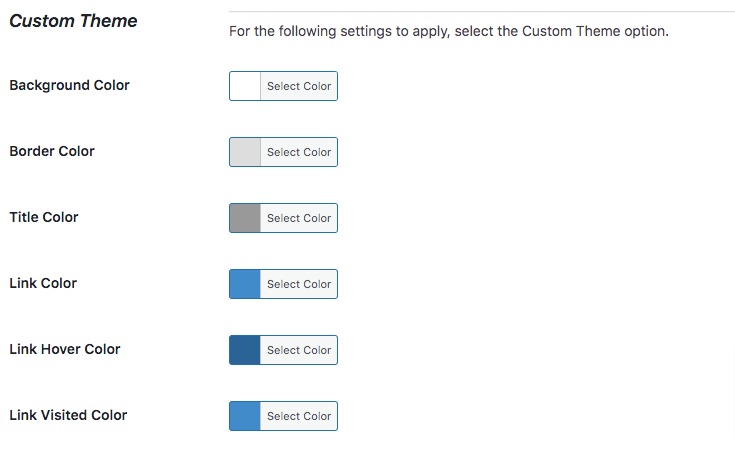
You can also create your custom theme that only applies to the table of contents. You can set the background color, border color, hover color, and others to make your custom theme.
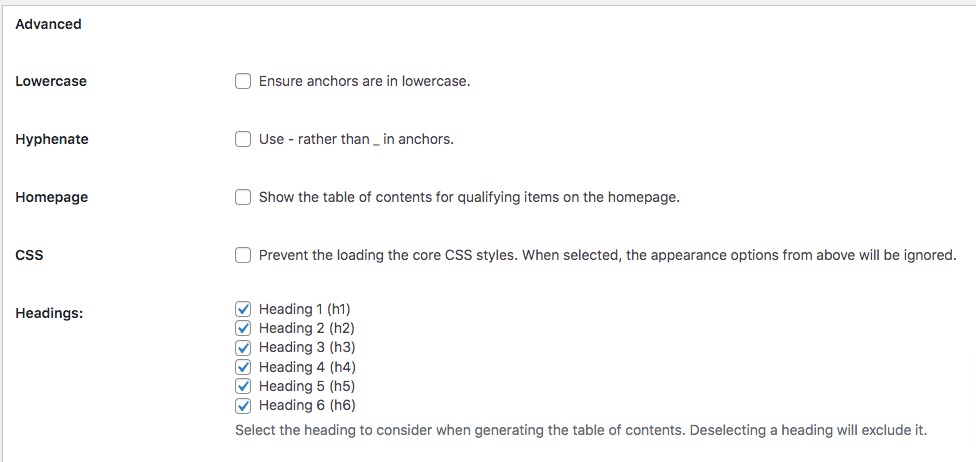
Now scroll down and go to the advance section. From here you can review the settings and change to for your need.
When everything is done click on the Save Changes button.
When you enable the auto insertion option it will automatically add the table of contents in your post or pages. You can also manually set the table of content for any specific post or page. Open up any post and scroll down and you will be able to see the table of content options.
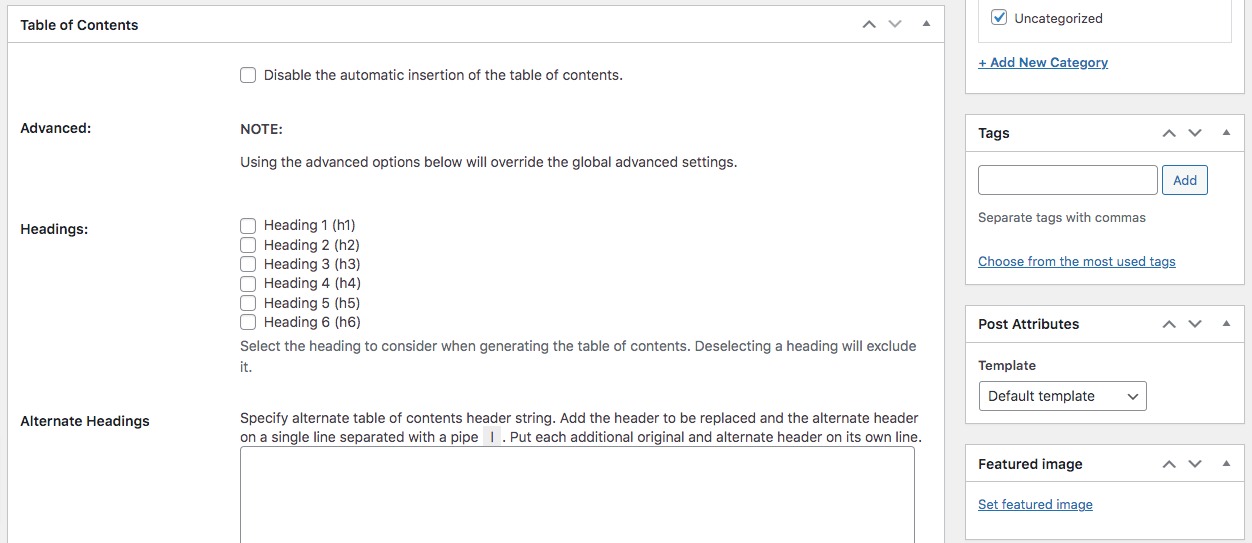
It will add the table of content in your specific post or pages.
Wrapping up
It’s not a good practice to use the table of content features in every post or page. if your post content is log enough then you can use these features. Following the process, you can easily add a table of contents to your website’s posts and pages. You can see our other articles to learn How to allow users to moderate comments in wordPress
How to add Call to Action Button under Slider in WordPress
How to lazy load images in WordPress website
We hope this article will help you. If you like this article please like our Facebook Page to stay connected.


